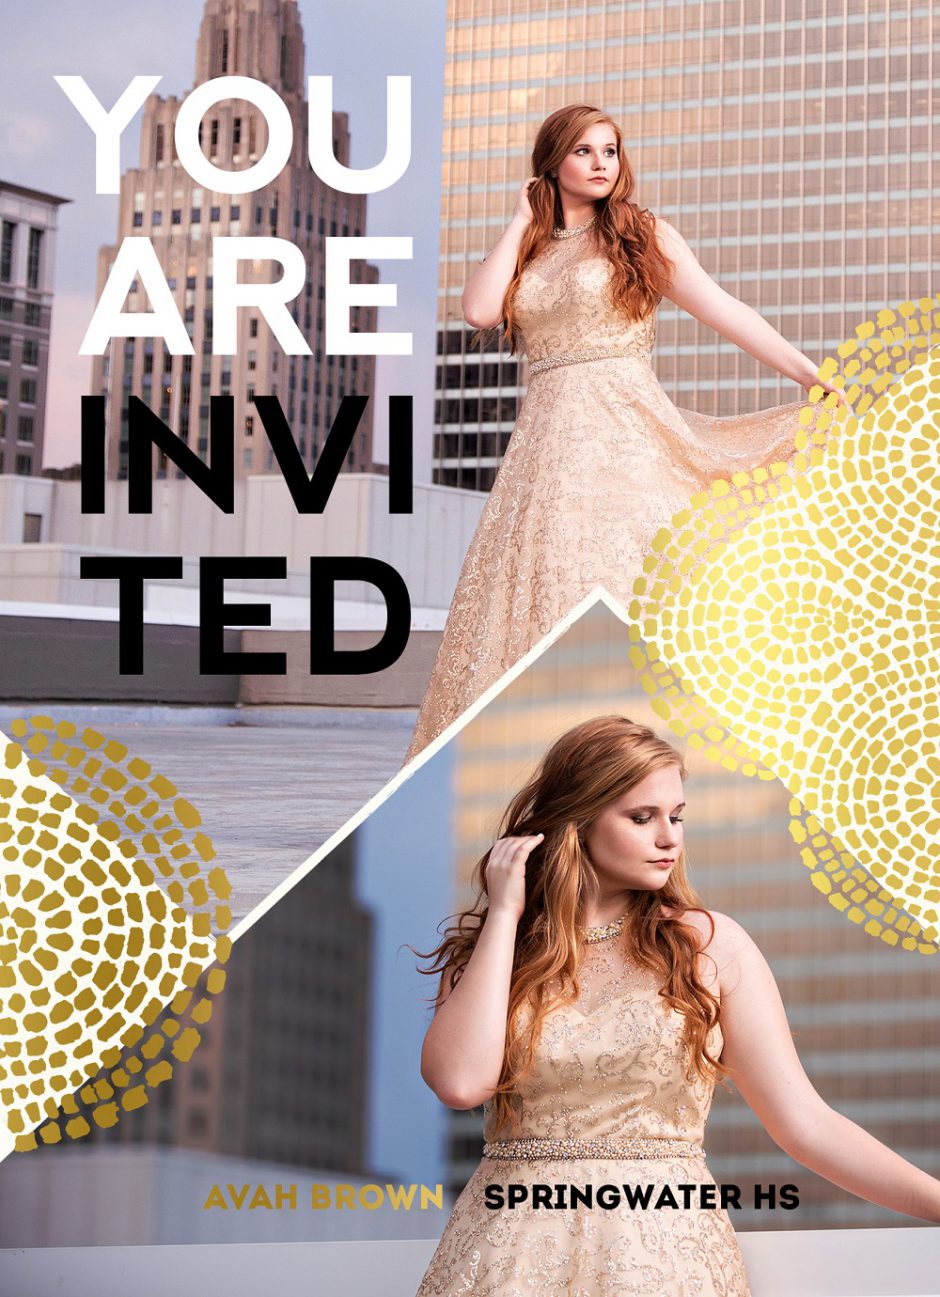
First, create the non-foil elements of your Card design (or background layer) in Photoshop or the design software of your choosing. Once the background layer of your design is complete, save your file as a high quality jpg.

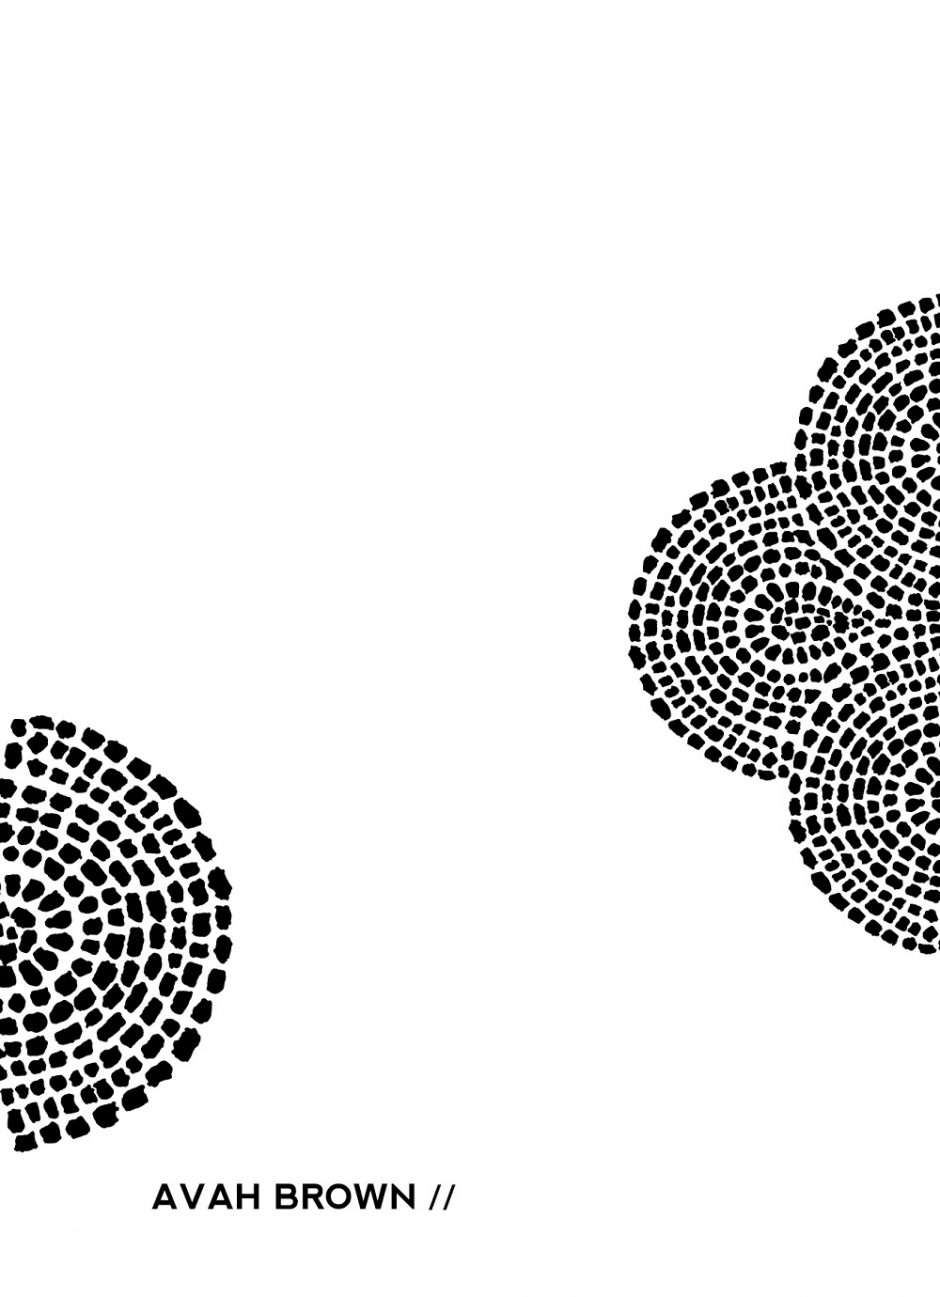
Now, create an additional layer for the elements of your design that will be printed in Personalized Foil. Once you are content with the foil elements of your design, convert the color of your foil design to black with a white background. Save this layer as a high-quality jpeg.

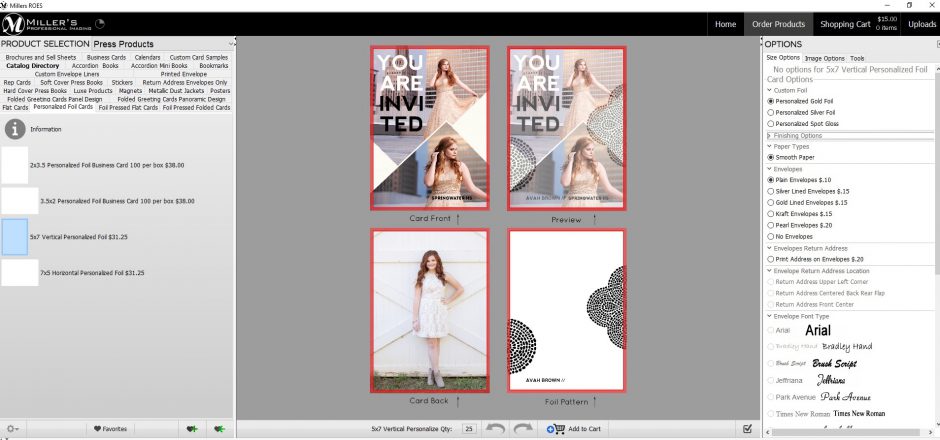
Now you’re ready to head to ROES and begin creating your Personalized Foil Card. Begin by selecting Personalized Foil Cards under the Press category in ROES. There you will find four image nodes – Card Front, Card Back, Foil Pattern and Preview.
Drag the Card Front design (or Background layer) to appropriate placement.
Drag the Card Back design to appropriate placement.
Drag the Foil Pattern design to appropriate placement and select your foil color in the options panel.
Check the preview for proper alignment and add to cart.

Learn more about Personalized Foil Cards and get started!
*Please Note: Personalized Foil can only be added to one-side of your Card design.
Tags: Personalized Foil Cards, tips


Thank you!!! This opens up so many creative opportunities!
Question about the spot gloss……is it a specific color or does it gloss over the color on the card. How is that one ordered? Thanks! PS – I LOVE that you have these options now. I’ve been ordering cards like crazy with personalized foil.
Hi Janelle, spot gloss doesn’t contain any color. Thanks for reaching out!
It would be great to see some examples of the spot gloss!
I’m curious if I can create a foil design- not simply words- but illustrative elements (swirls, flowers, swooshes)?
Absolutely!