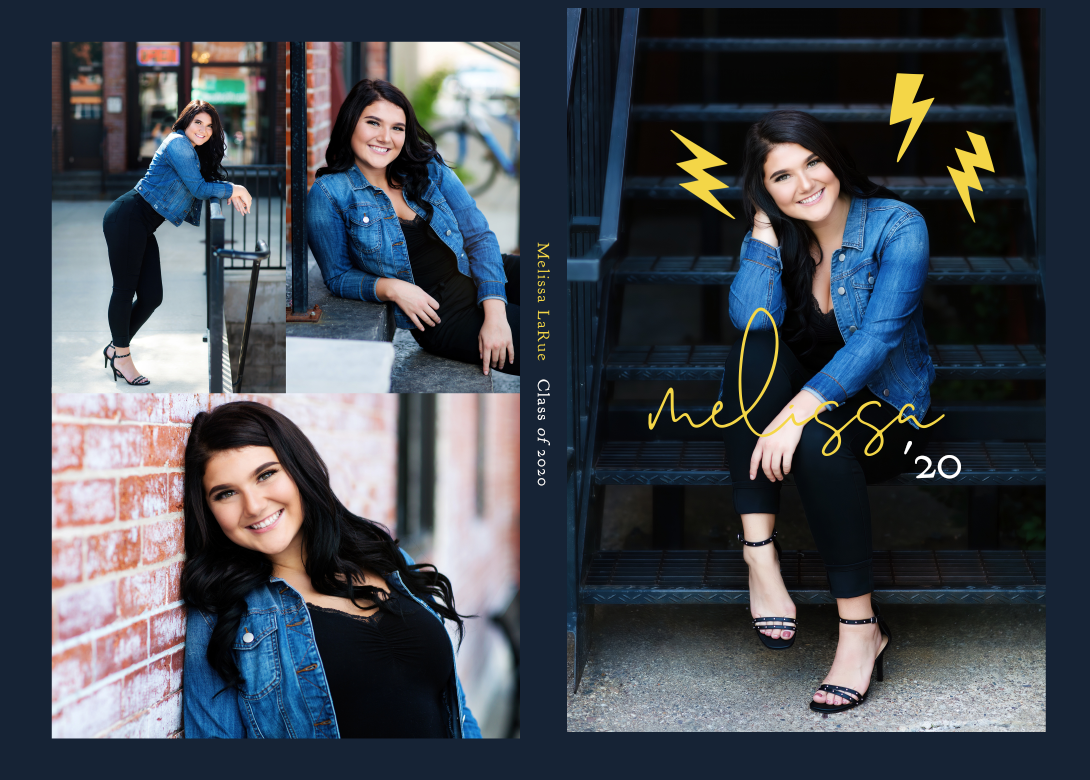
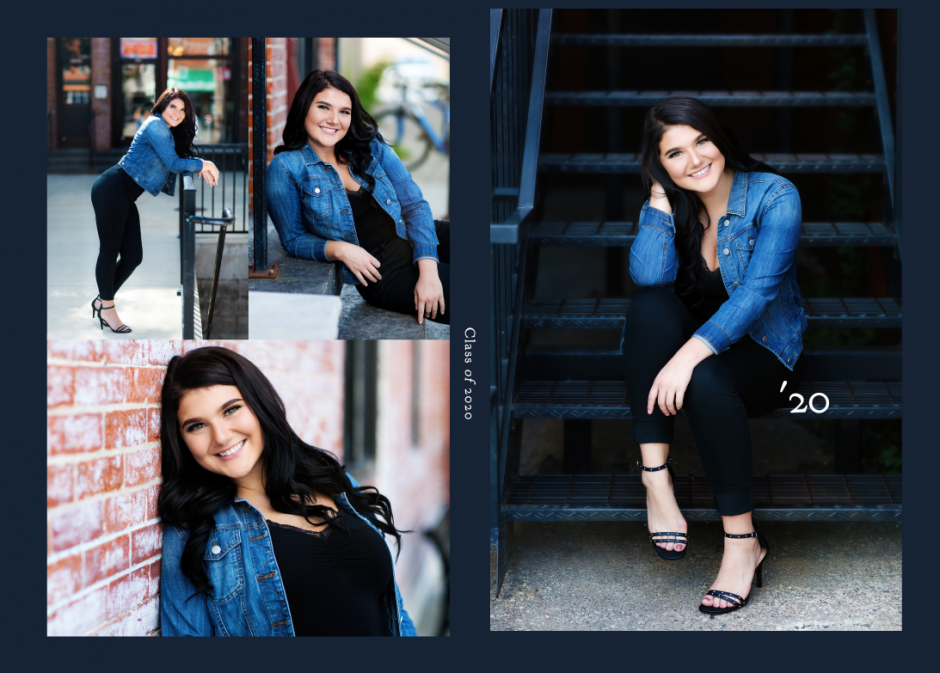
First, create your Custom Image cover design in Photoshop or the design software of your choosing. You can feature an image with your design or elect to use a solid color, texture, etc. Personalized Foil is only available for Satin Custom Image covers. For this example, we elected to feature images. Once you’ve settled on the look of your Custom Image cover, save your file.
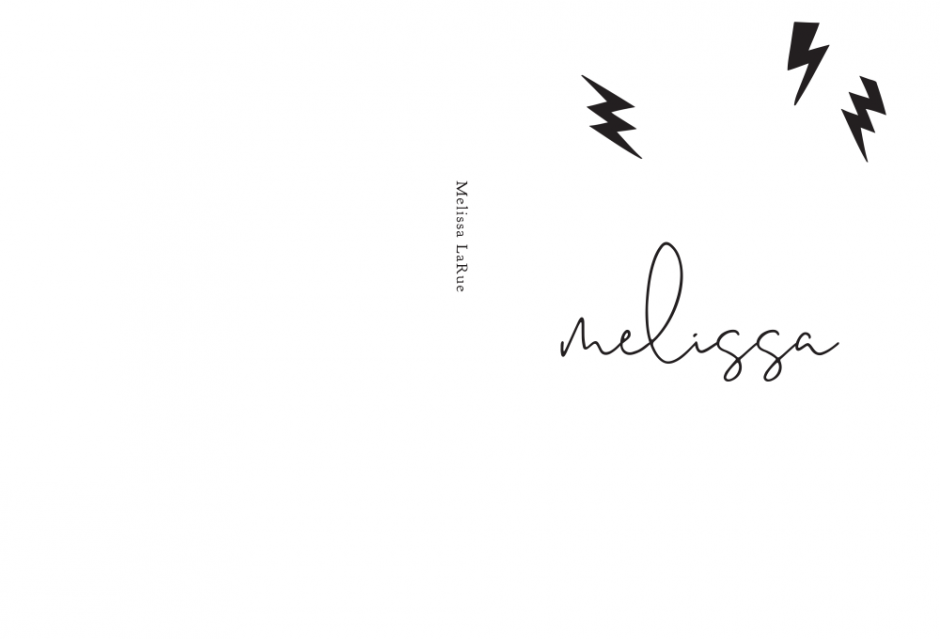
After you’ve created the Custom Image cover in your design software, create an overlay layer for the areas of your cover that will be printed in Personalized Foil. For this example, the design and text in yellow will be printed in foil.
Once you’ve locked down your foil elements, convert the color to black with a white background and save separately.
Now you’re ready to head to ROES and begin creating your Miller’s Signature Album. Begin by selecting “Custom Image” as your cover choice and “Satin” as your cover material. Click “Previous Page” and then drag and drop the cover image into your album design.
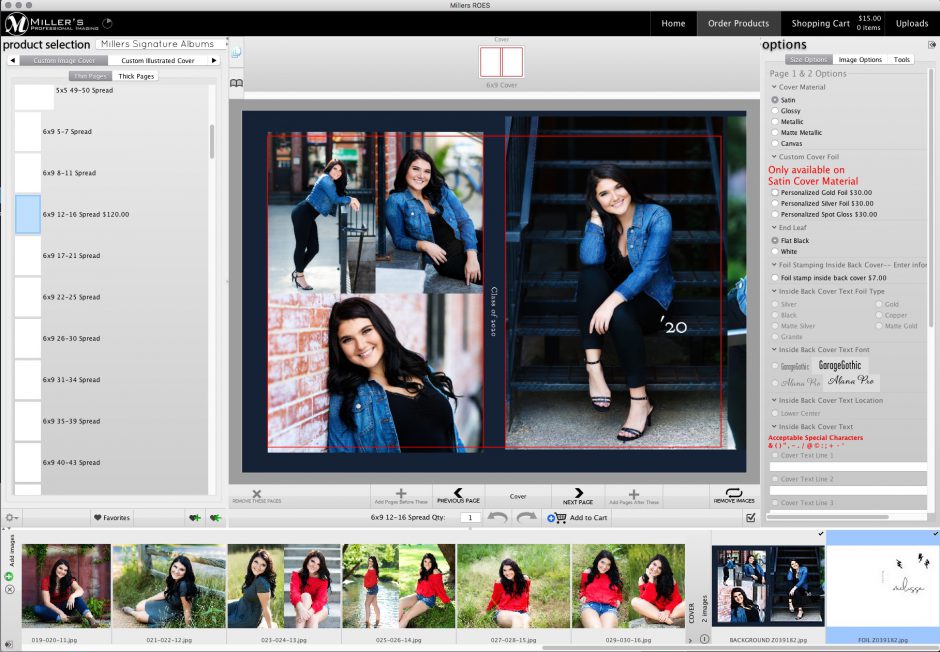
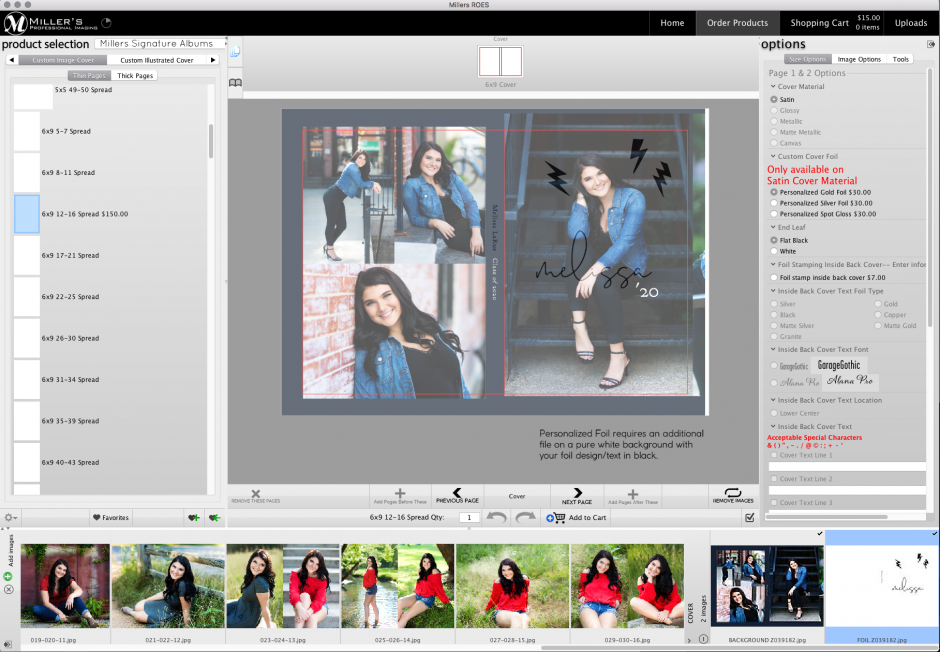
Once that step has been completed, select “Personalized Foil” and drag and drop your foil layer onto the existing cover. Once you are satisfied with the placement, your Personalized Foil album cover is complete.
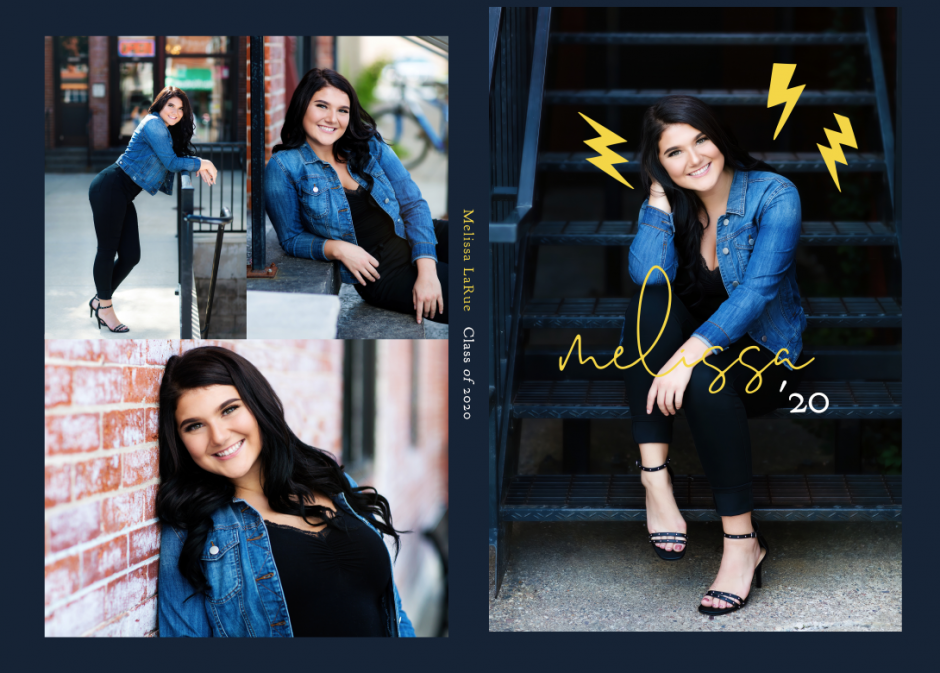
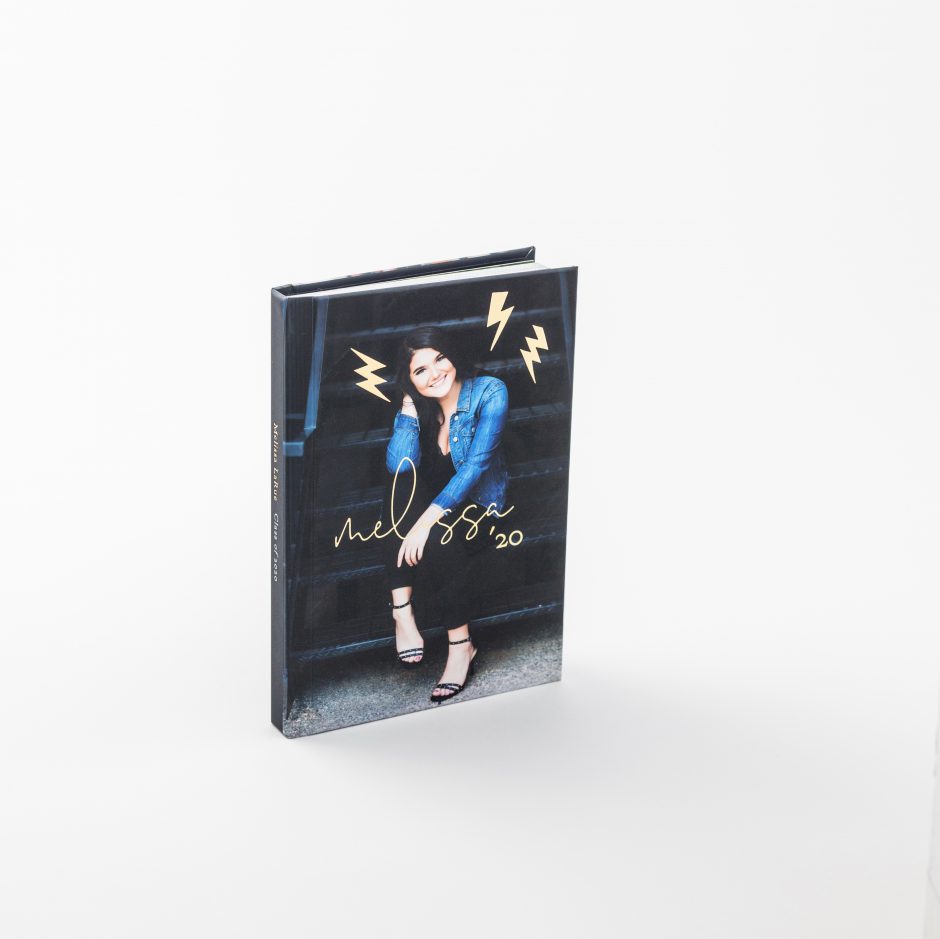
And the finished product:
Learn more about Miller’s Signature Albums and get started!
Images courtesy of LaRue Photography.


Are you going to start doing this with greeting cards?
Hi Kris, that is definitely something we are working on and hope to release this year!